
Winter has a way of revealing every weak spot in your home’s armour. That subtle chill across your feet, the windows that weep with condensation, and the boiler that never quite keeps up. If you’re serious about staying warm without watching your energy bills climb like frost on a windowpane, it’s time to take winter-proofing room by room.
This checklist isn’t just superficial fixes. It’s a plan to make your home perform better, feel better, and cost less to run.
Entrance Hall: Seal the Threshold
Your front door is the frontline between your warm home and the outside world. Make sure it’s not giving too much away.
Fit a quality draft excluder at the base.
Add weather stripping around the frame to stop air seepage.
If you have a keyhole or letterbox, install covers that prevent gusts from entering.
Your door’s job is to let people in, not the cold.
Living Room: Heat What You Use
Your living room works hard in winter. Don’t let it waste energy.
Pull furniture away from radiators to allow warm air to circulate.
Use thermal-lined curtains or blinds to trap warmth after sunset.
Add reflective radiator panels to push heat back into the room.
Layer the room like you’d layer yourself: insulation is as much about placement as it is about thickness.
Kitchen: Don’t Let Heat Leak with the Steam
It’s tempting to ignore upgrading the kitchen when winter-proofing. After all, it’s usually the warmest room when cooking is underway. But that warmth can be deceptive.
Fit extractor fans with shutters to block outside drafts.
Insulate around plumbing entry points where pipes bring in cold air.
Consider under-unit insulation if your kitchen backs onto an external wall.
The kitchen is a heat engine—make sure that engine is efficient, not wasteful.
If you are already considering improving your kitchen space, you can also talk to a kitchen planner to discuss how to implement your winter-proofing setup into a new layout. More often than not, actively choosing to redesign the kitchen to maximize winter heat can save you money in the long term.
Bedroom: Cold Nights, Warm Sleep
There’s no good reason to shiver yourself to sleep or wake up with numb toes.
Apply removable insulation film to windows. It’s invisible once fitted but creates an extra barrier against the chill.
Lay down a thick rug if you have hard floors. Heat rises, but it also escapes downward.
For older homes, install insulated curtains with pelmets to reduce convection currents.
Think about air quality, too. While sealing the room, allow for ventilation that doesn’t sacrifice heat.
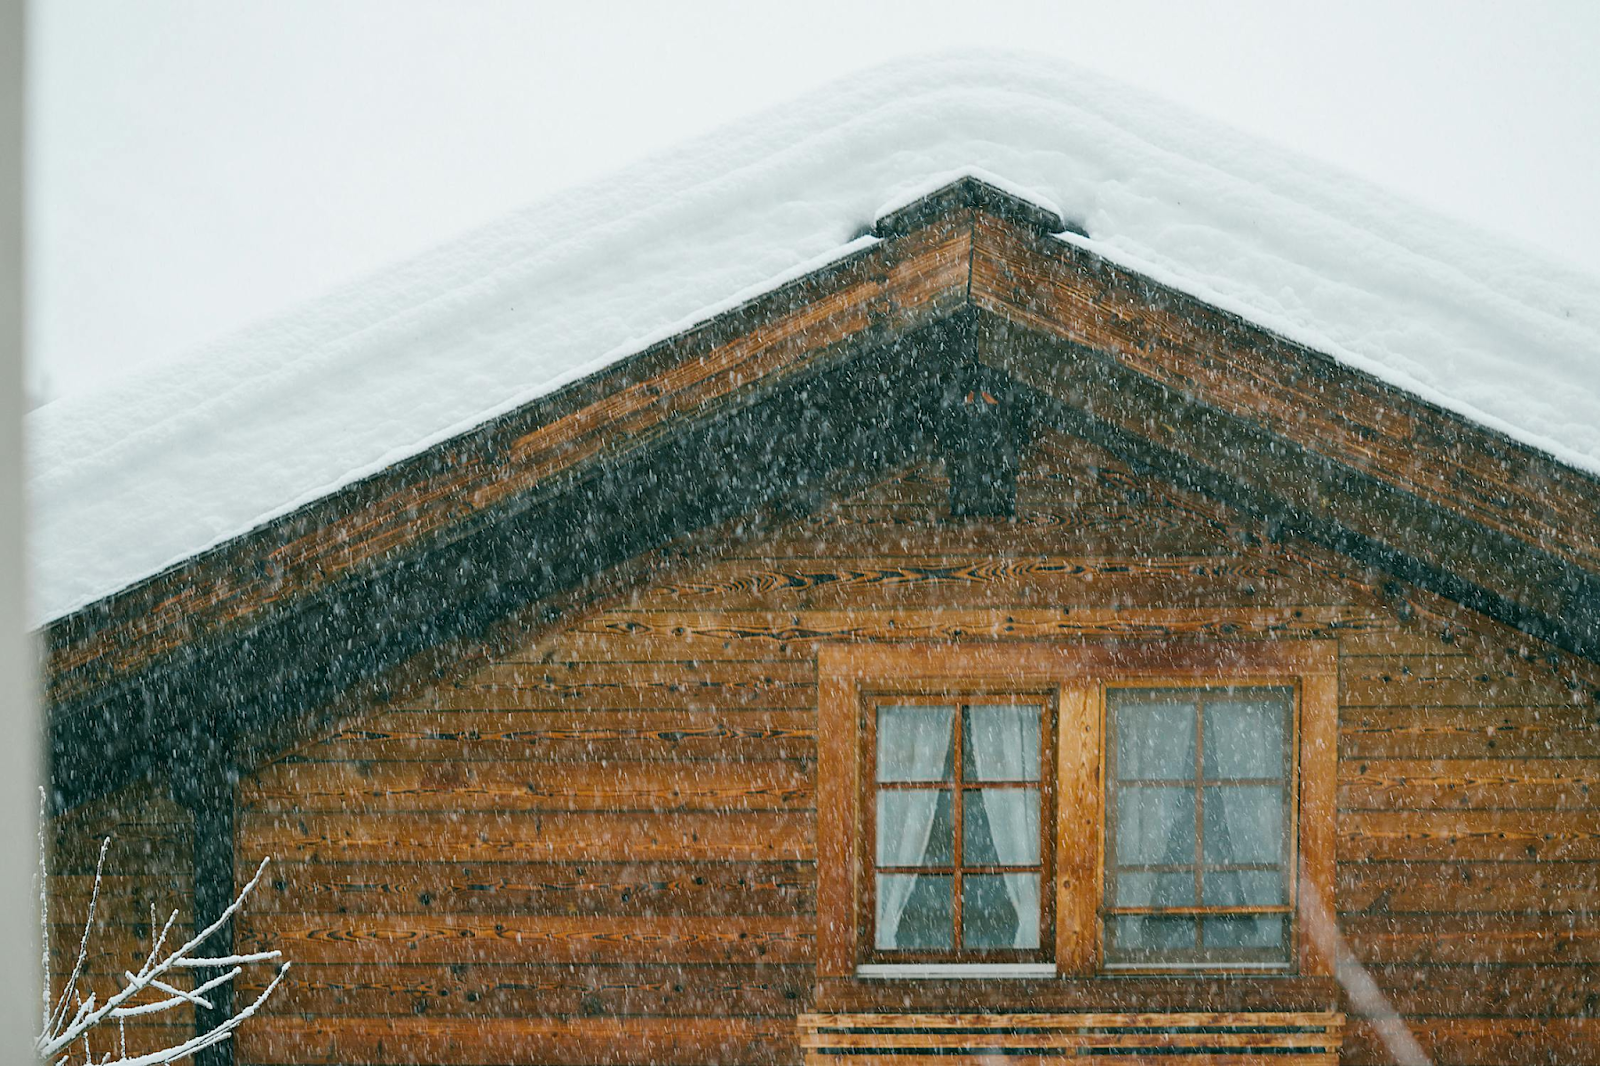
Loft & Attic: Cap It Off Right
Heat rises. If your loft isn’t insulated, your home is essentially funnelling warmth into the sky.
Lay at least 270mm of quality loft insulation. Anything less is underperforming.
Insulate the hatch and install draught-proofing around its edges.
Consider insulating exposed pipework and water tanks to prevent freezing and energy loss.
Call in the professionals to ensure it is done right. As accredited installers, All Seasons Energy specialize in converting underperforming lofts into high-efficiency, cost-saving spaces. If you’re ready to improve your home’s energy performance and lower your bills, just get in touch.
Utility Room & Bathrooms: Quiet Culprits
These small rooms often go unnoticed, but they can quietly drain heat.
Add self-adhesive foam strips to door edges.
Ensure extractor fans are fitted with draught-proof covers.
Consider heated towel rails that work on timers—comfort without excess.
Whole-Home Heating Check: Make the System Work Smarter Even the best room-by-room upgrades can fall short if your heating system is fighting itself. Before winter fully sets in, bleed radiators to remove trapped air, check thermostat placement so it reflects real room temperatures, and review your heating schedule to avoid warming empty spaces. This is also the point where bringing in experienced HVAC Companies can make sense, not for flashy upgrades, but for fine-tuning airflow, balancing zones, and ensuring your system is running efficiently rather than constantly overcompensating. When the core system is aligned with the improvements you’ve made room by room, the entire house holds heat more evenly, with less effort and lower long-term costs.
No More Drafts, No More Doubt
Beyond simply staying warm, winter-proofing is about taking charge of your home’s comfort and efficiency. By ensuring every room does its part, your living space becomes not only toasty but also quieter, more energy-wise, and truly inviting. Rather than merely enduring the cold, you’ll create a household that thrives throughout winter.


CONVERSATION